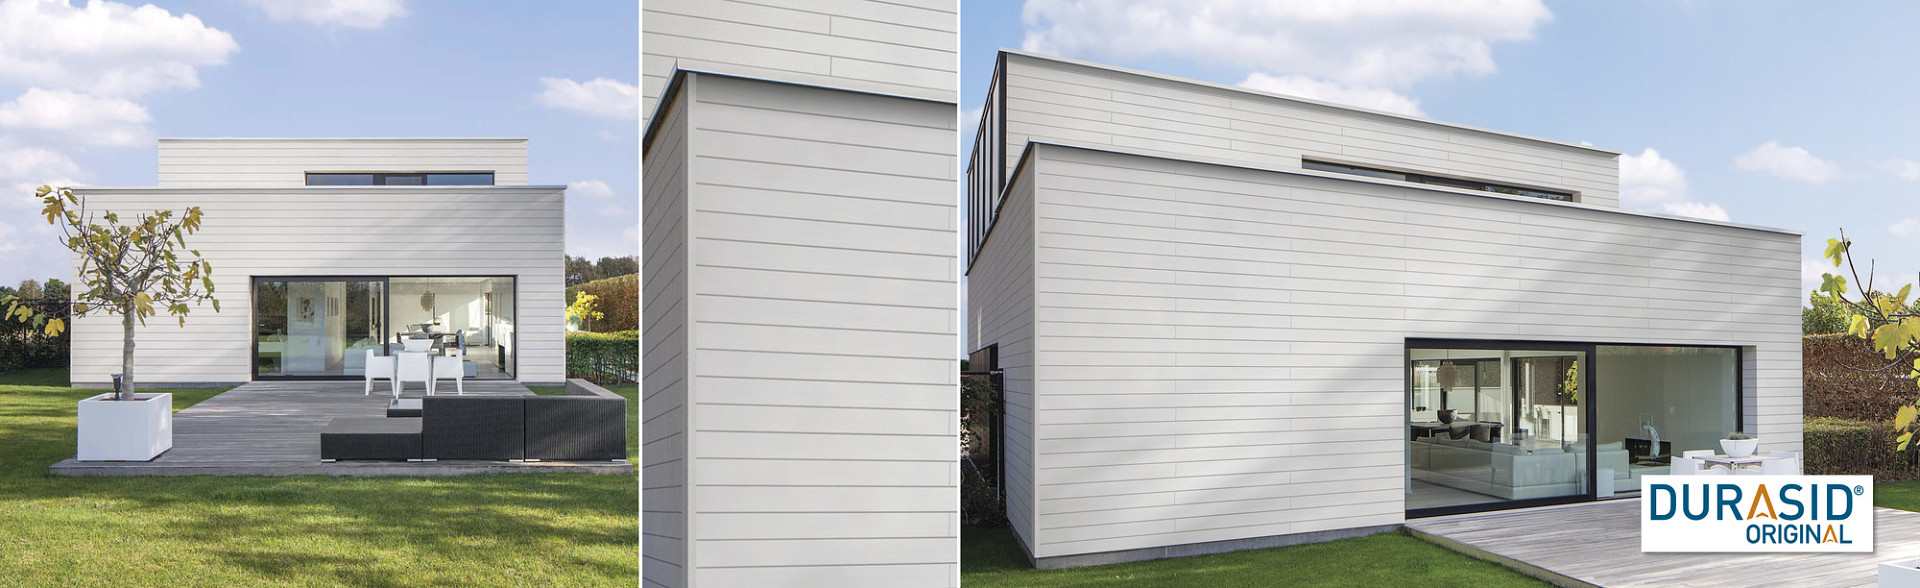
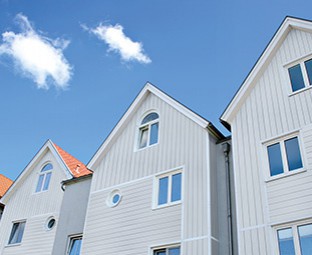
Durasid Original
Durasid Original gevelbekleding is verkrijgbaar in verschillende tijdloze en rustgevende kleuren die in de massa gekleurd zijn en daardoor niet afbladderen.

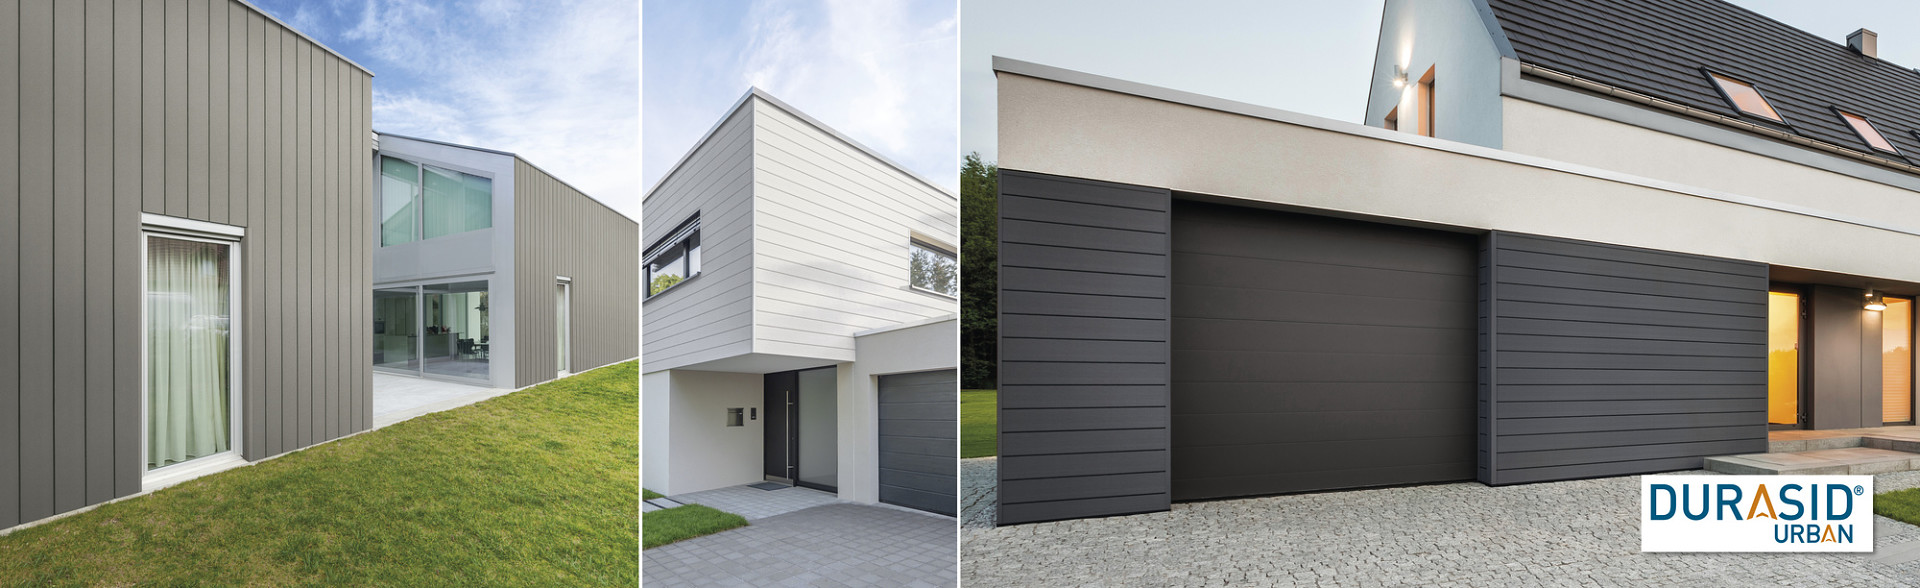
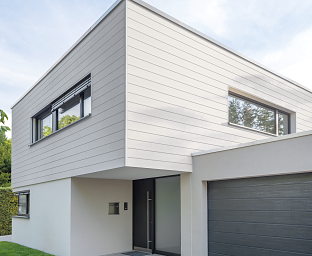
Durasid Urban
De Urban gevelbekleding, met een licht gestructureerde toplaag, zorgt voor een strakke maar toch warme uitstraling. Deze collectie sluit perfect aan bij een hedendaagse bouwstijl.
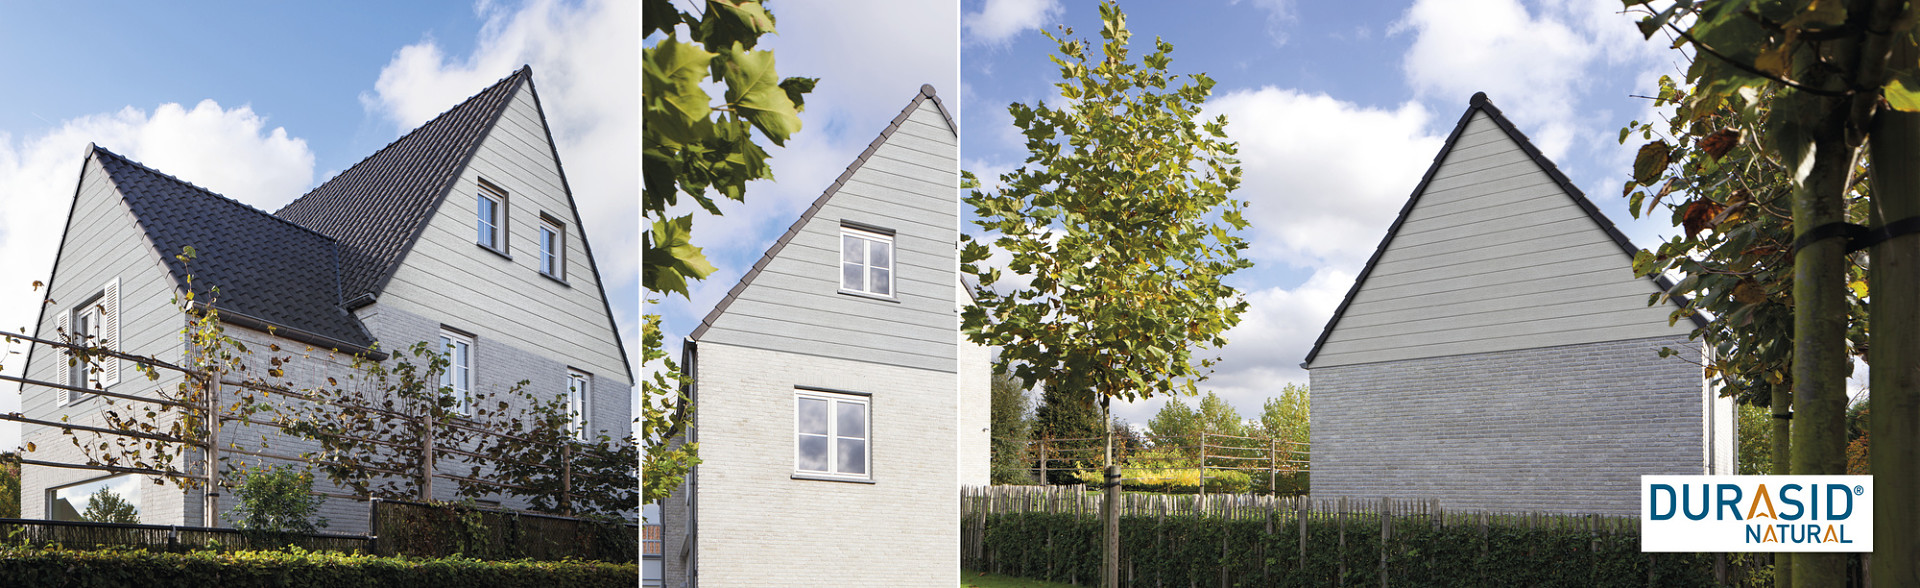
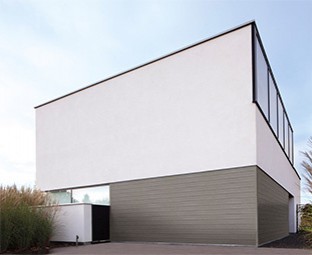
Durasid Natural
Door toepassing van een specifieke techniek op de houtnerfstructuur van de Durasid Natural bekleding bekomt men een natuurgetrouwe uitstraling.
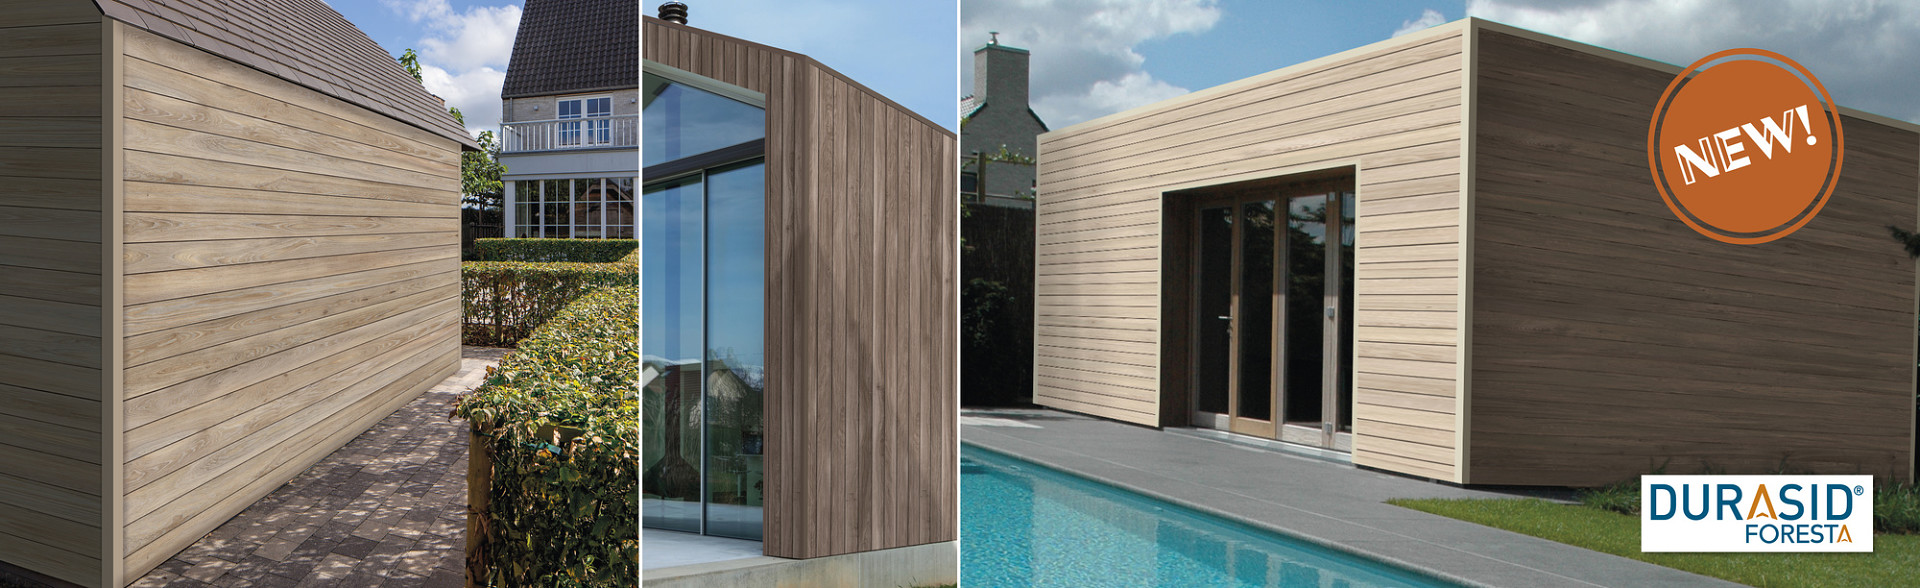
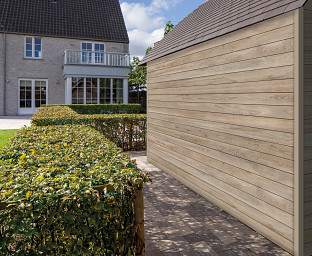
Durasid Foresta
Via digitale printing worden de gevelpanelen voorzien van een realistisch houtmotief dat nauwelijks nog van natuurlijk hout te onderscheiden is.
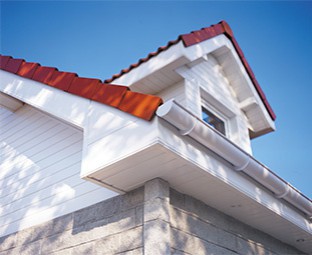
Durasid Roofline
Met Durasid dakrandbekleding is het mogelijk om dakranden, dakoversteken, topgevels en dakkapellen mooi en stijlvol af te werken in combinatie met Durasid.
Calculator
Bereken het aantal Durasid panelen dat u nodig hebt om uw gevel te bekleden met onze online calculator app.
Wat is Durasid PVC gevelbekleding?
Durasid is de ideale esthetische houtlook gevelbekleding in PVC voor zijgevels, topgevels, erkers, dakkapellen, tuinhuisjes, poolhouses en andere constructies. Durasid biedt brede toepassingsmogelijkheden bij zowel nieuwbouw als renovatie.
De Durasid panelen zijn vervaardigd uit een kern van hardschuim bedekt met een duurzame, gecoëxtrudeerde toplaag. In de toplaag wordt een decoratieve houtnerfstructuur aangebracht, waardoor Durasid PVC gevelprofielen het beste van alle andere gevelbekledingen in zich verenigt.
Durasid bezit de charme en de uitstraling van natuurlijk hout plus het onderhoudsgemak van kunststof, waardoor het zich op korte tijd wist op te werpen tot een slim en volwaardig alternatief voor gevelbekledingen in andere courante materialen.
Durasid PVC gevelbekleding behoudt veel langer zijn initieel uitzicht en uitstraling dan een houten gevelbekleding of een bekleding in een ander materiaal. Die zien er vaak na verloop van tijd verweerd of minder mooi uit.
Waarom gevelpanelen in PVC?
Hardschuim PVC beschikt over een aantal opmerkelijke kwaliteiten op vlak van uitzicht, duurzaamheid en onderhoudsgemak. Daar waar houten of andere gevelbekleding regelmatig een onderhouds- of opfrissingsbeurt nodig hebben, is dit niet het geval bij Durasid gevelbekleding. PVC hoeft immers niet geschuurd, geschilderd of geolied te worden om mooi te blijven.
Bovendien splintert het niet en slorpt het geen water op waardoor het zo goed als immuun is voor algengroei of mosvorming. Mocht uw Durasid gevelbekleding na langere tijd een vervuilende stoflaag vertonen, dan kan het volstaan om gewoonweg even af te wassen met een spons en wat water, al dan niet gemengd met een mild huishouddetergent.
Durasid hardschuim PVC gevelbekleding maakt deel uit van een compleet systeem met alle nodige hulpstukken, toebehoren en accessoires voor een vlotte en oordeelkundige plaatsing en voor een bijzonder fraaie afwerking. Zo werden een reeks handige profielen in kunststof en gelakt aluminium ontwikkeld die een mooi uitzicht en een stevige opbouw garanderen en die borg staan voor perfect afgewerkte hoeken en verbindingen.
Het goed doordachte concept zorgt er tevens voor dat, niet onbelangrijk, de gevelbekleding steeds optimaal geventileerd wordt, waardoor de onderliggende muurstructuur nooit vochtig komt te staan.
Het opbouw- en afwerkingssysteem van Durasid gevelbekleding in PVC biedt naar plaatsingsgemak, resultaatzekerheid en tijdwinst toe een aantal stevige troeven, die zowel de vakman als de doe-het-zelver weten te bekoren.
Plastivan is tevens fabrikant van een compleet assortiment dakrandbekleding onder de merknaam Beltecto. Deze bouwmaterialen zijn uitstekend geschikt voor zowel nieuwbouw als renovatieprojecten. Dit kan met alle types gevelafwerking geplaatst worden, maar zeker ook in combinatie met de Durasid gevelbekleding.
Nieuws

Sales reps klaargestoomd voor 2026 met producttraining
Gisteren organiseerde Plastivan een inspirerende opleidingsdag voor haar Durasid sales team.
Lees meer

Ecovadis 2026
PLASTIVAN heeft voor het derde jaar op rij de bronzen EcoVadis-medaille gekregen!
Lees meer
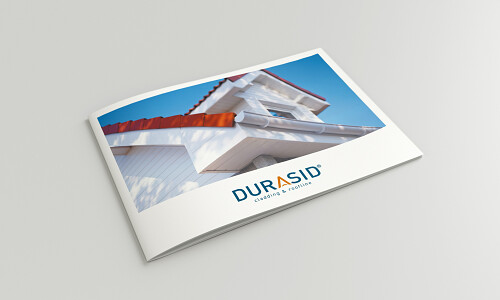
Durasid Roofline brochure
Er is een nieuwe brochure van Durasid Roofline!
Bekijk hem hier!
Lees meer